One of the biggest benefits of an HDPE Piping system is that pipe can be joined with heat fusion welds. Heat fusion involves the heating of two HDPE surfaces then bringing them together to form a permanent, monolithic, leak-free system.
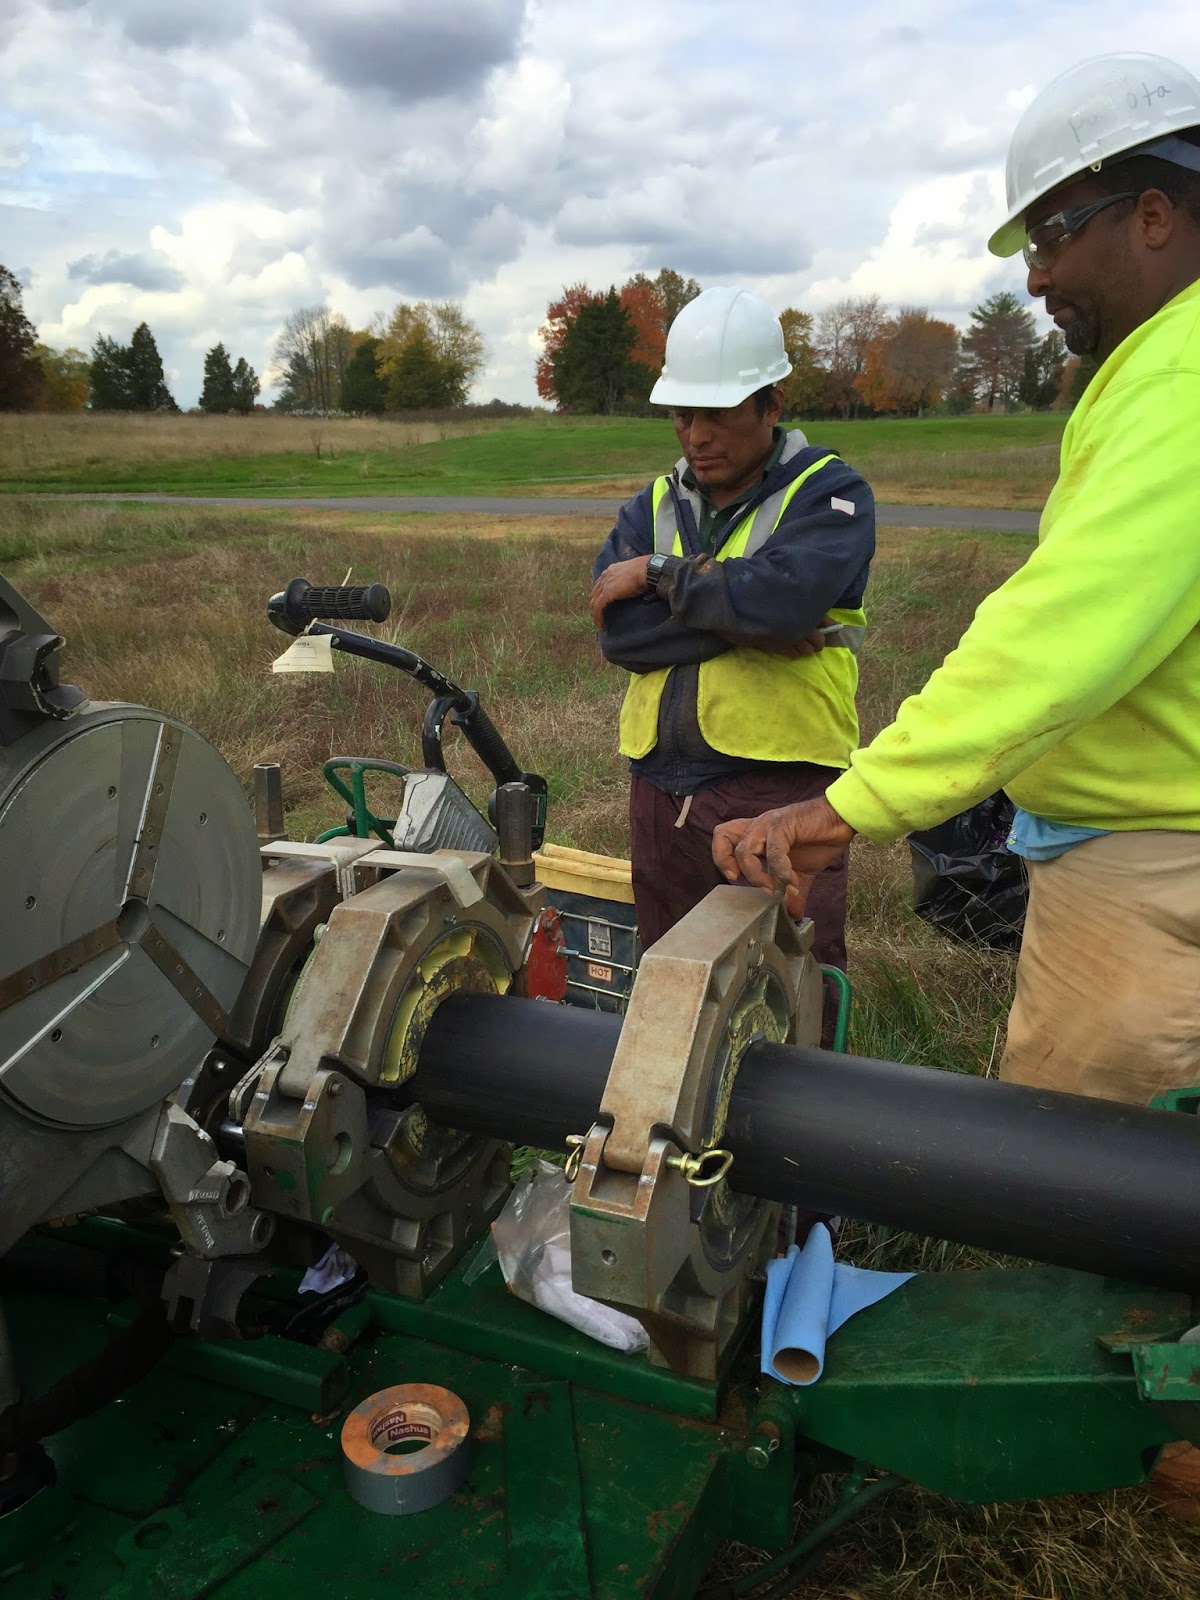
Mainline HDPE pipe is delivered in 40' sticks. 40' sticks are then fused together as mainline installation progresses. Landscapes Unlimited uses a McElroy TracStar 412 for large mainline fusions. This unit is self contained, self propelled, and all terrain and can be used on HDPE Pipe from 4" to 12". The unit also has an on board generator for powering heater and other devices.

The 2 sections of pipe that will be fused together are lined up on either end of the McElroy TracStar 412 and clamped in to place. Each end pipe is then faced in order to produce a clean welding surface.
Pipe facing process.
After pipe facing is complete, Landscapes Unlimited cleans each end of pipe using a lint free rag and oil free cleaner. They then make sure that both ends line up properly. Heater is then cleaned using the same process.

Spraying oil-free cleaner on both ends of pipe.

Lint free rag is used to clean pipe surfaces.

After cleaning is completed, proper alignment is checked.

Both sides of heater are cleaned using oil-free cleaner and lint free rag.
After all surfaces are cleaned properly and alignment is checked, Landscaped Unlimited begins heating the heater to 425 degrees Fahrenheit . When heater reaches desired temperature, the heater is placed between the 2 pipe ends and ends are pressed up against the heater. Landscapes then allows the heater to heat up each end of pipe 4 minutes. The heater is then removed and pipe is pressed together. After the weld is completed, pipe is allowed to cool 10 mins.

Heater is heated up to 425 degrees Fahrenheit.

Heater is placed between 2 ends of pipe and pipe is pressed against heater. If you look closely, you can see beads beginning to form on pipe.
Landscapes allows pipe to heat for 4 mins.

Heater is removed, pipe is pressed together, and cooling process begins.

Completed 6" HDPE weld. The weld is signed, dated, and time stamped by Juan.
For more information on HDPE pipe, please visit the "HDPE Pipe and Fittings" tab at the top of page.


